> ## Documentation Index
> Fetch the complete documentation index at: https://umbra.0xcreator.dev/llms.txt
> Use this file to discover all available pages before exploring further.
# Quickstart
> Get from zero to your first private transfer in minutes.
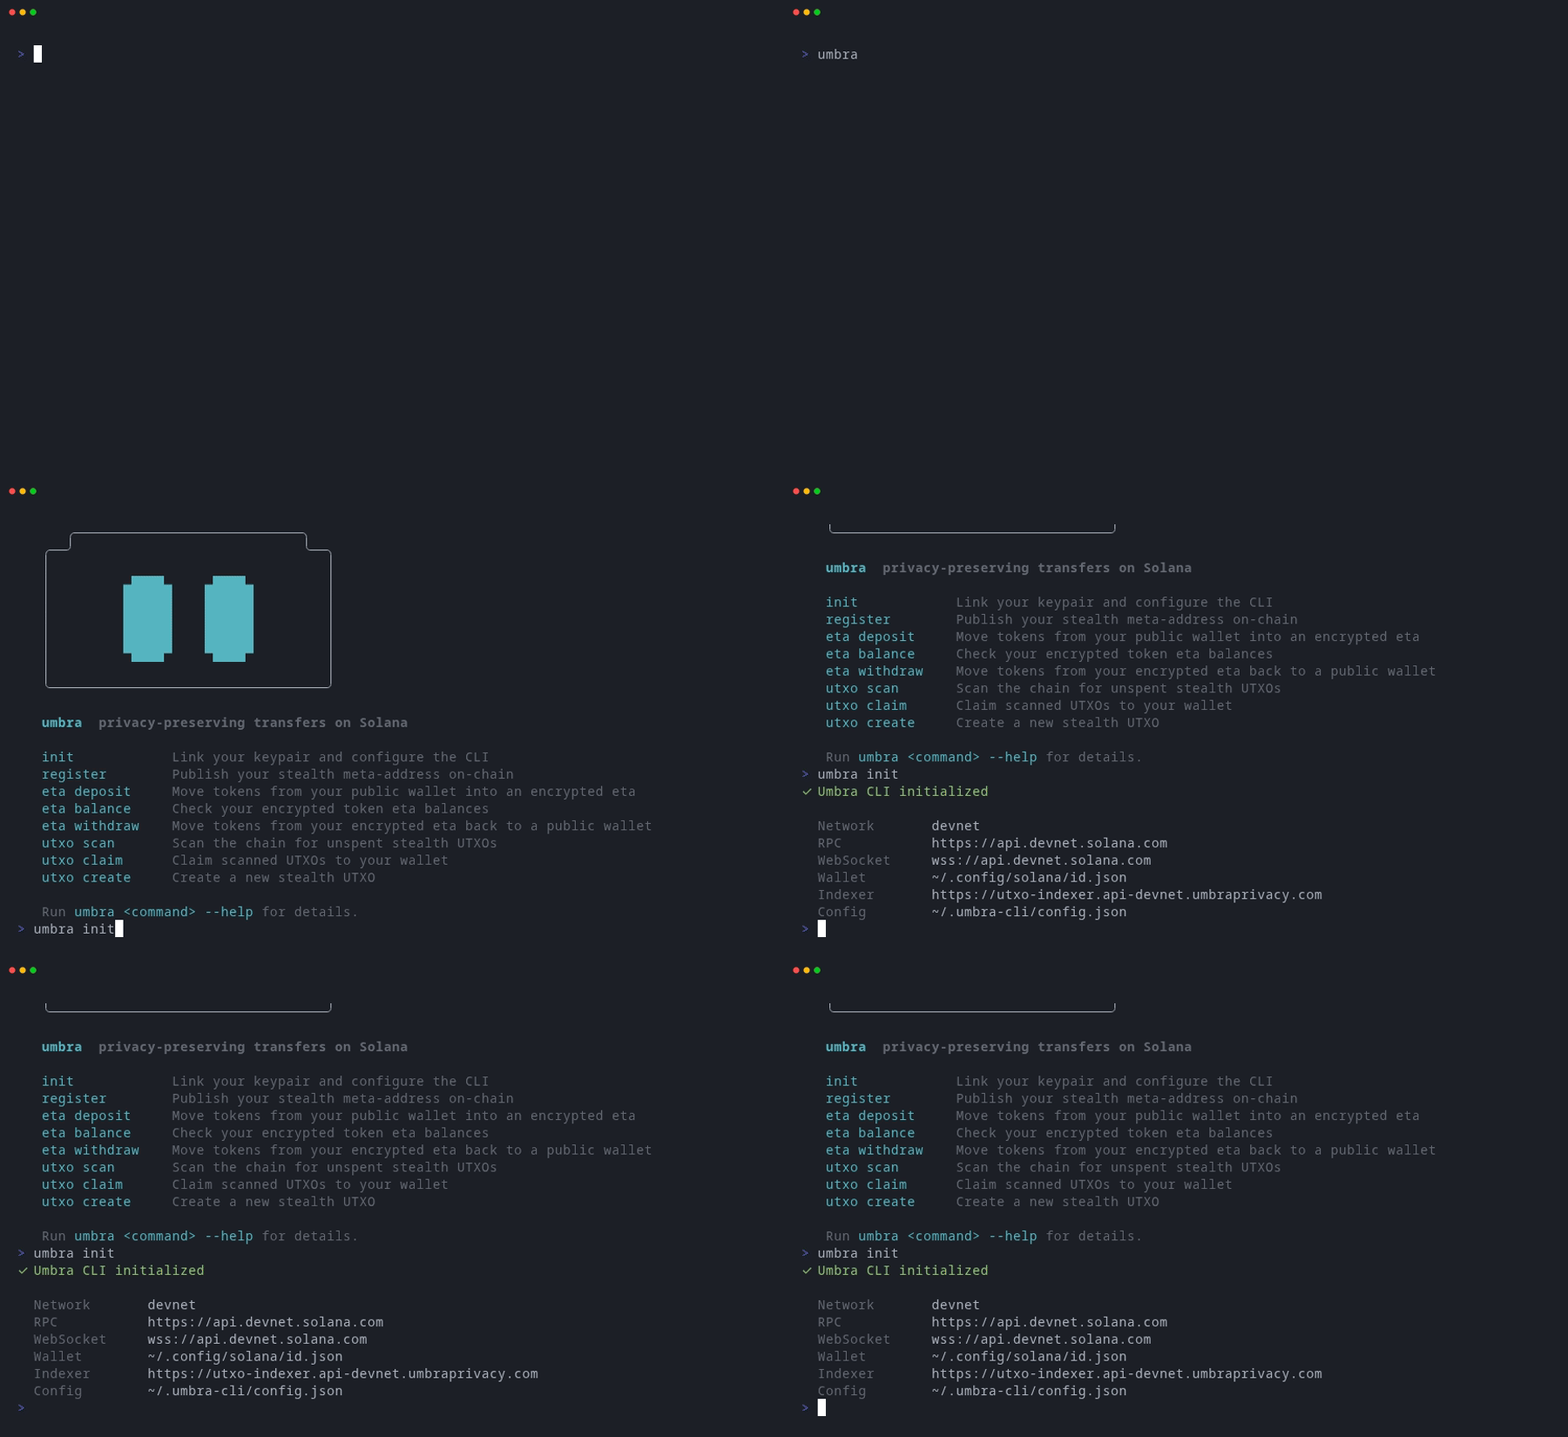 ## Install
```bash theme={null}
npm install --global umbraprivacy-cli
```
## Step 1 — Add a user
Link a signer to the CLI. The simplest option is a local Solana keypair file (the same format used by `solana-keygen`).
```bash theme={null}
umbra user add alice --backend local
```
The CLI defaults to `~/.config/solana/id.json`. Pass `--param keypair=` to use a different file:
```bash theme={null}
umbra user add alice --backend local --param keypair=~/wallets/my-wallet.json
```
For managed wallet providers (Privy, Turnkey, Para), see [`user add`](/commands/user/add) for the required params.
The first user you add is automatically set as the active user. To switch later, run `umbra user use `.
## Step 2 — Configure the network
By default the CLI connects to `devnet`. To switch to mainnet:
```bash theme={null}
umbra config set network mainnet
umbra config set rpcUrl https://api.mainnet-beta.solana.com
umbra config set rpcSubscriptionsUrl wss://api.mainnet-beta.solana.com
```
Run `umbra config get` at any time to see current settings.
## Step 3 — Register
Create your on-chain Umbra account. This publishes your encryption key and user commitment to the Solana network, enabling both encrypted balances and the mixer.
```bash theme={null}
umbra register
```
Registration is a one-time step per wallet. It performs up to three on-chain transactions and skips any that are already complete — so it's safe to run again if interrupted.
Your wallet will prompt you to sign a message during registration. This signature derives your master seed — the root of Umbra's key hierarchy. It is not a transaction and costs no SOL.
## Step 4 — Deposit
Move tokens from your public wallet into an encrypted balance. Amounts are in native token units (accounting for decimals).
```bash theme={null}
# Deposit 100 USDC (6 decimals → 100_000_000 base units)
umbra eta deposit EPjFWdd5AufqSSqeM2qN1xzybapC8G4wEGGkZwyTDt1v 100000000
```
The command waits for the Arcium MPC callback to confirm before returning. You'll see two transaction signatures: the queue tx and the callback tx.
## Step 5 — Check your balance
```bash theme={null}
umbra eta balance EPjFWdd5AufqSSqeM2qN1xzybapC8G4wEGGkZwyTDt1v
```
Pass multiple mints to check several at once:
```bash theme={null}
umbra eta balance
```
## Step 6 — Withdraw
Move tokens back to your public wallet:
```bash theme={null}
umbra eta withdraw EPjFWdd5AufqSSqeM2qN1xzybapC8G4wEGGkZwyTDt1v 50000000
```
***
## Next steps
* Use `--recipient` on `eta deposit` to shield tokens directly into another user's encrypted balance.
* Use `utxo create` and `utxo claim` for anonymous mixer transfers.
* Run any command with `--help` for the full option list.
## Install
```bash theme={null}
npm install --global umbraprivacy-cli
```
## Step 1 — Add a user
Link a signer to the CLI. The simplest option is a local Solana keypair file (the same format used by `solana-keygen`).
```bash theme={null}
umbra user add alice --backend local
```
The CLI defaults to `~/.config/solana/id.json`. Pass `--param keypair=` to use a different file:
```bash theme={null}
umbra user add alice --backend local --param keypair=~/wallets/my-wallet.json
```
For managed wallet providers (Privy, Turnkey, Para), see [`user add`](/commands/user/add) for the required params.
The first user you add is automatically set as the active user. To switch later, run `umbra user use `.
## Step 2 — Configure the network
By default the CLI connects to `devnet`. To switch to mainnet:
```bash theme={null}
umbra config set network mainnet
umbra config set rpcUrl https://api.mainnet-beta.solana.com
umbra config set rpcSubscriptionsUrl wss://api.mainnet-beta.solana.com
```
Run `umbra config get` at any time to see current settings.
## Step 3 — Register
Create your on-chain Umbra account. This publishes your encryption key and user commitment to the Solana network, enabling both encrypted balances and the mixer.
```bash theme={null}
umbra register
```
Registration is a one-time step per wallet. It performs up to three on-chain transactions and skips any that are already complete — so it's safe to run again if interrupted.
Your wallet will prompt you to sign a message during registration. This signature derives your master seed — the root of Umbra's key hierarchy. It is not a transaction and costs no SOL.
## Step 4 — Deposit
Move tokens from your public wallet into an encrypted balance. Amounts are in native token units (accounting for decimals).
```bash theme={null}
# Deposit 100 USDC (6 decimals → 100_000_000 base units)
umbra eta deposit EPjFWdd5AufqSSqeM2qN1xzybapC8G4wEGGkZwyTDt1v 100000000
```
The command waits for the Arcium MPC callback to confirm before returning. You'll see two transaction signatures: the queue tx and the callback tx.
## Step 5 — Check your balance
```bash theme={null}
umbra eta balance EPjFWdd5AufqSSqeM2qN1xzybapC8G4wEGGkZwyTDt1v
```
Pass multiple mints to check several at once:
```bash theme={null}
umbra eta balance
```
## Step 6 — Withdraw
Move tokens back to your public wallet:
```bash theme={null}
umbra eta withdraw EPjFWdd5AufqSSqeM2qN1xzybapC8G4wEGGkZwyTDt1v 50000000
```
***
## Next steps
* Use `--recipient` on `eta deposit` to shield tokens directly into another user's encrypted balance.
* Use `utxo create` and `utxo claim` for anonymous mixer transfers.
* Run any command with `--help` for the full option list.